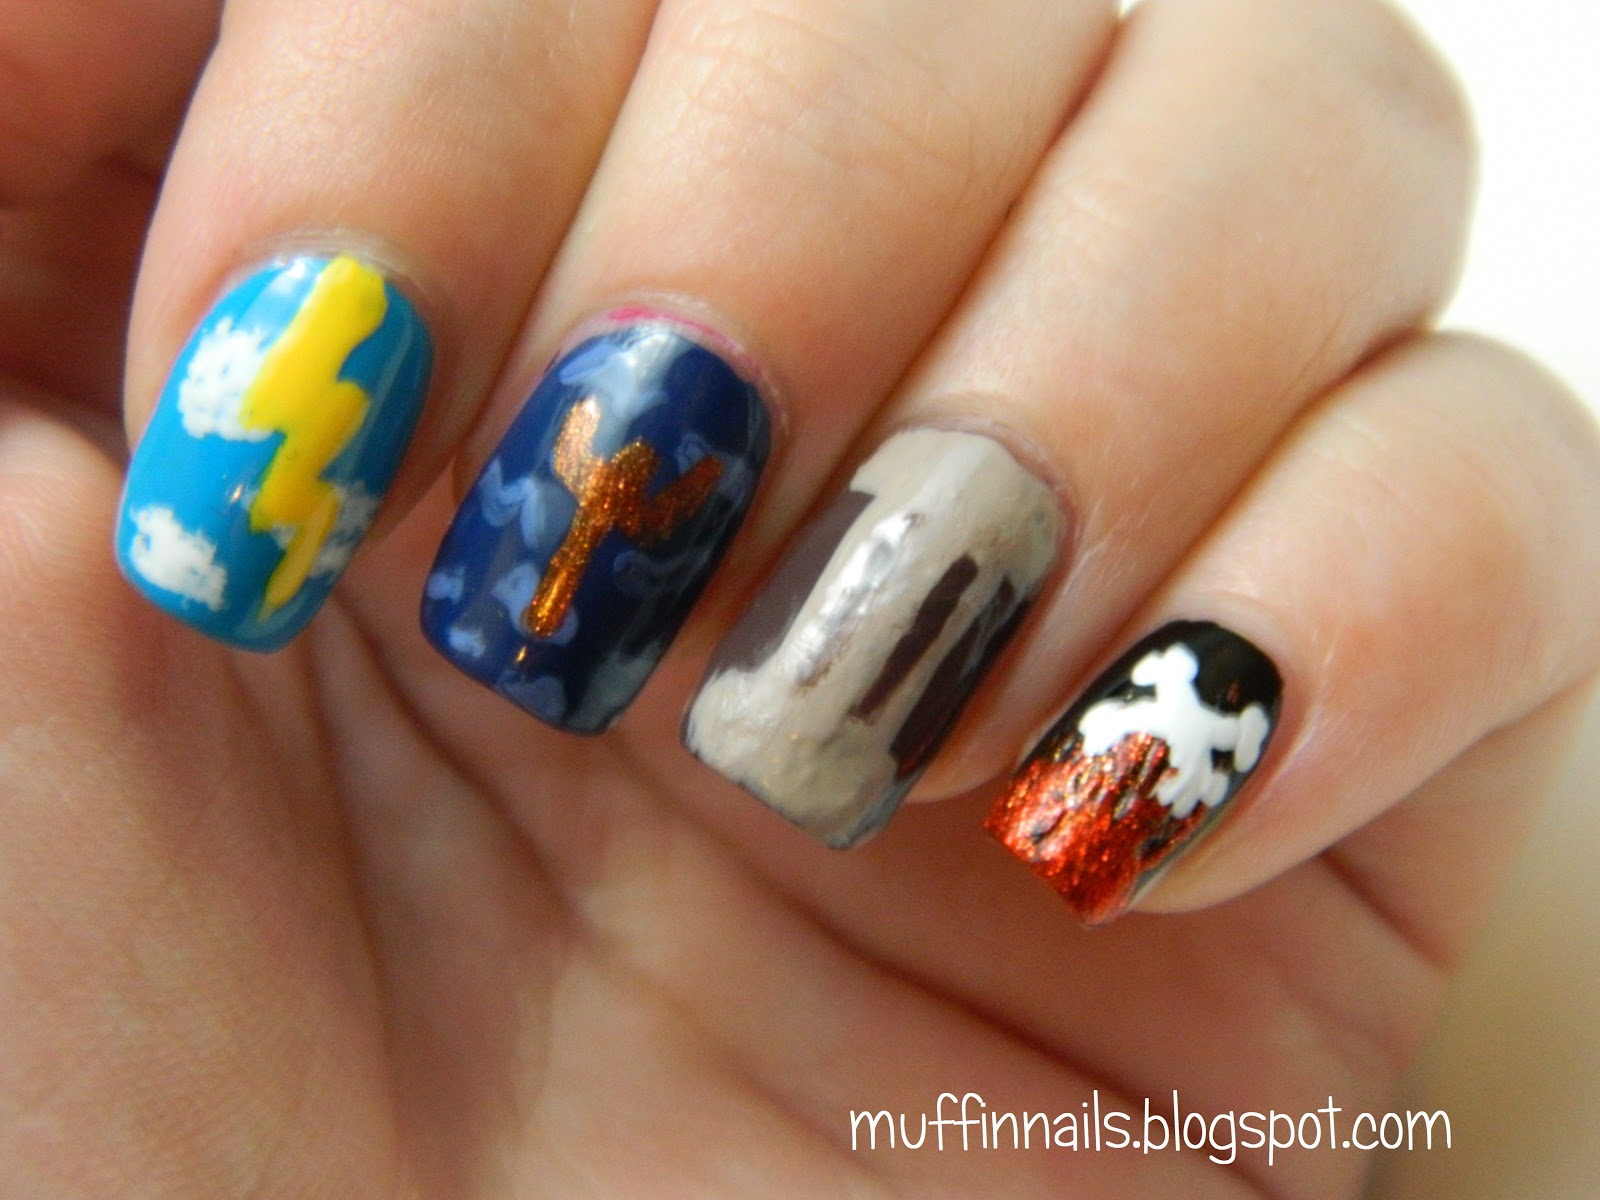
Since it's past Thanksgiving, it's time to start the holiday manicures. And since there are so many ideas to try out, I figured I'd better start as early in the season as possible! So I present to you: Snowman nails!

You will need:
- base coat
- white polish
- blue polish
- black striper
- white striper
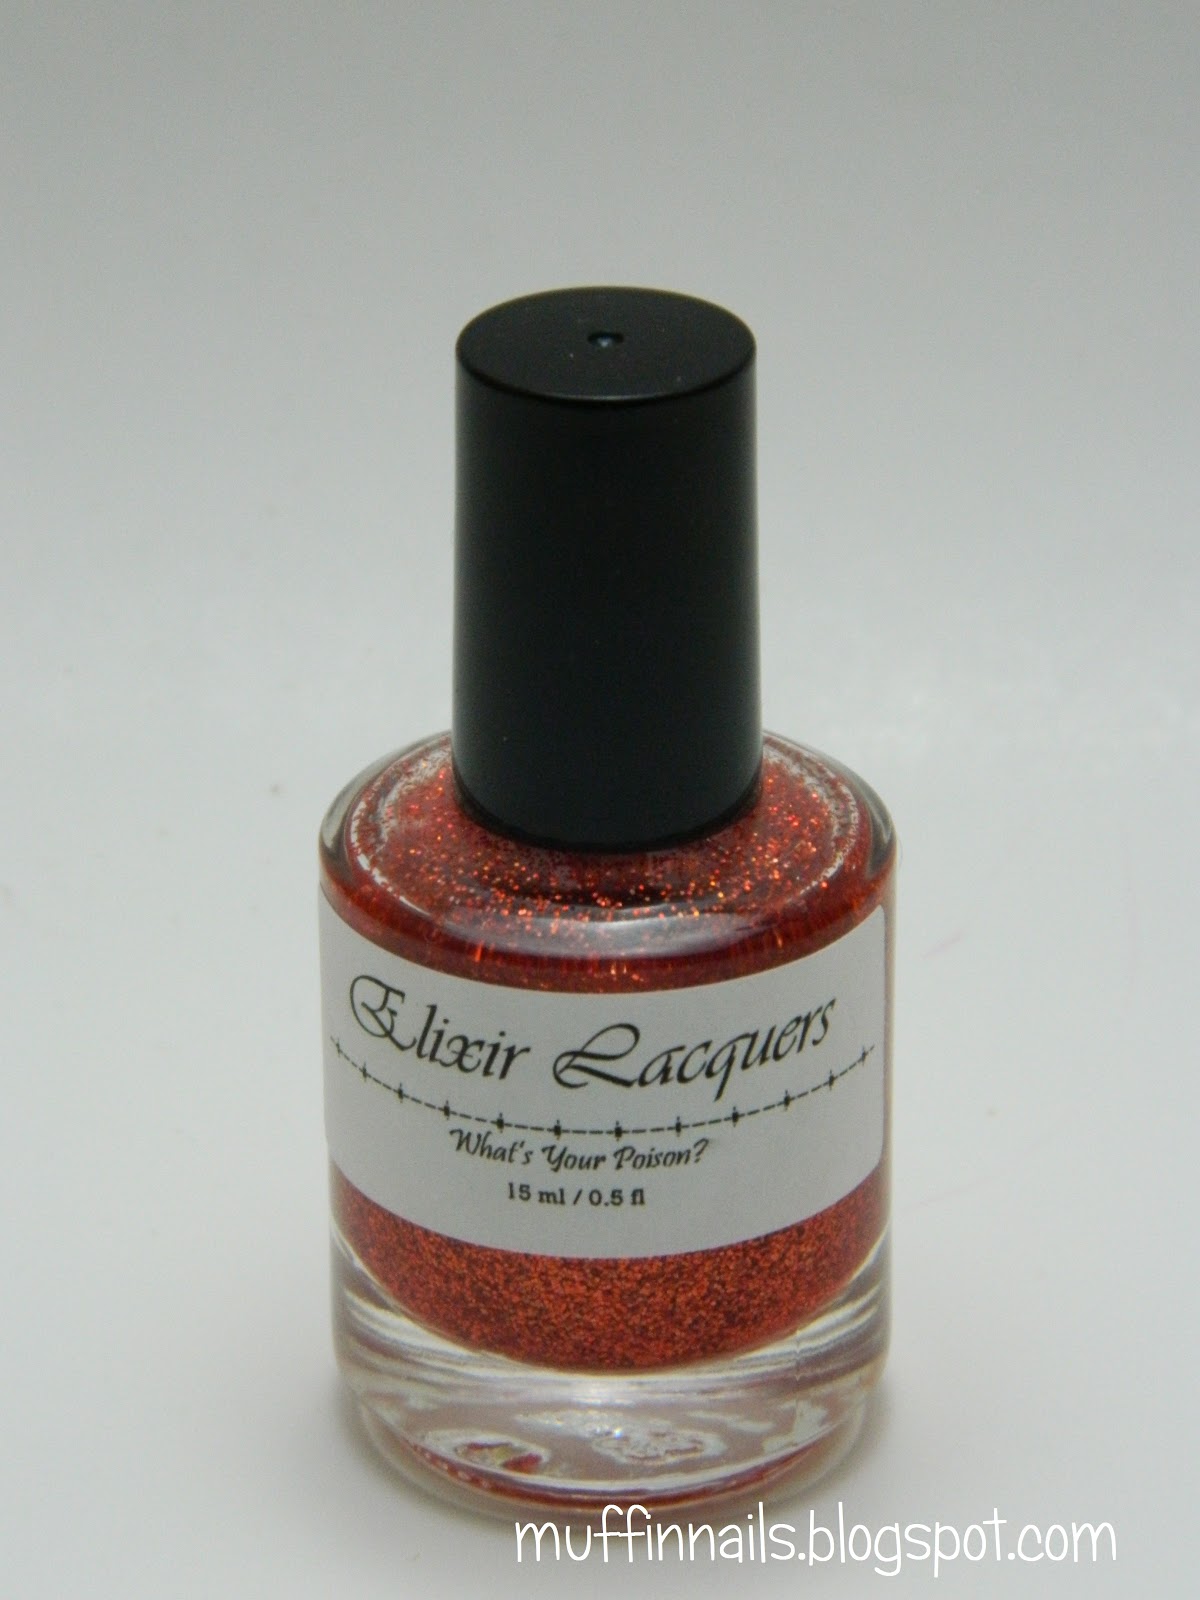
- orange striper
- top coat
*Note: All of the stripers can be replaced with the same color of polish and a toothpick.*
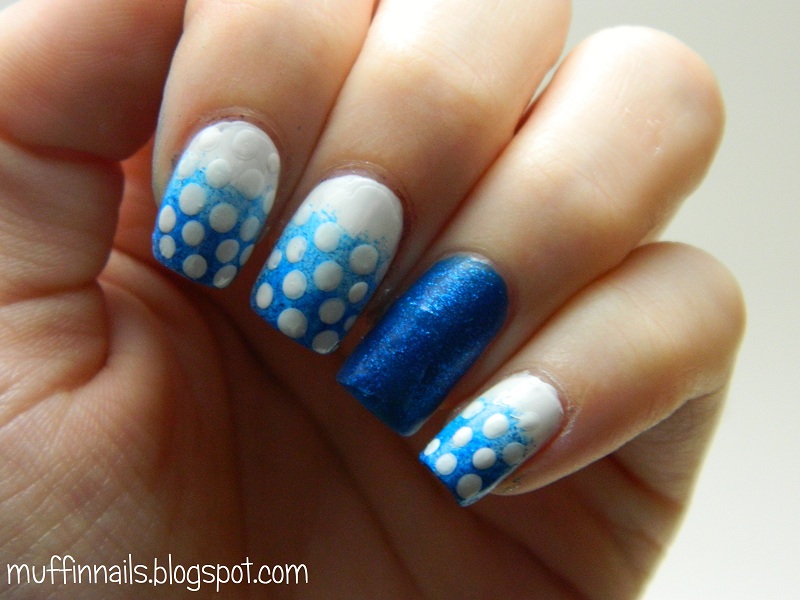
Start off with a base coat, and then paint all but your thumb and ring finger white. Sorry for the ugliness that is my ring finger- it's torn halfway across the nail but I can't stand to cut it, so as of now I'm holding it together with a tea bag patch.
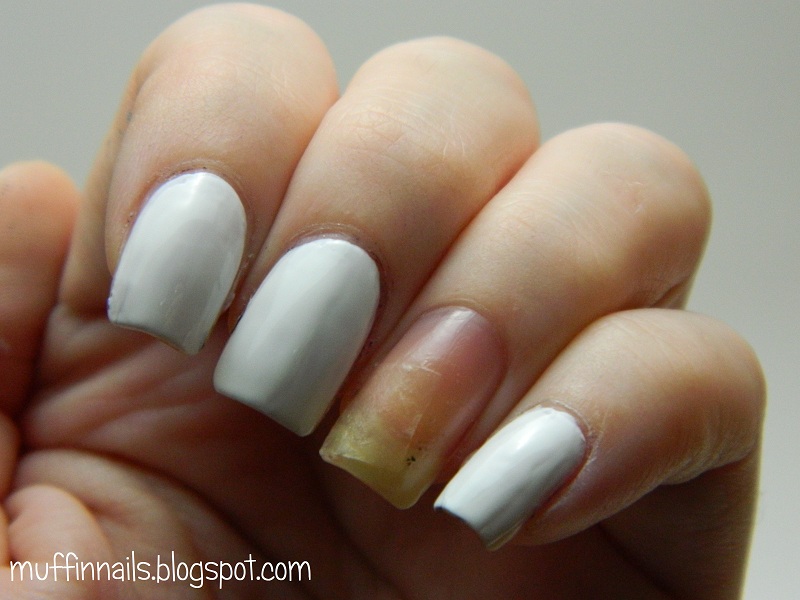 |
| Sally Hansen - Hard to Get |
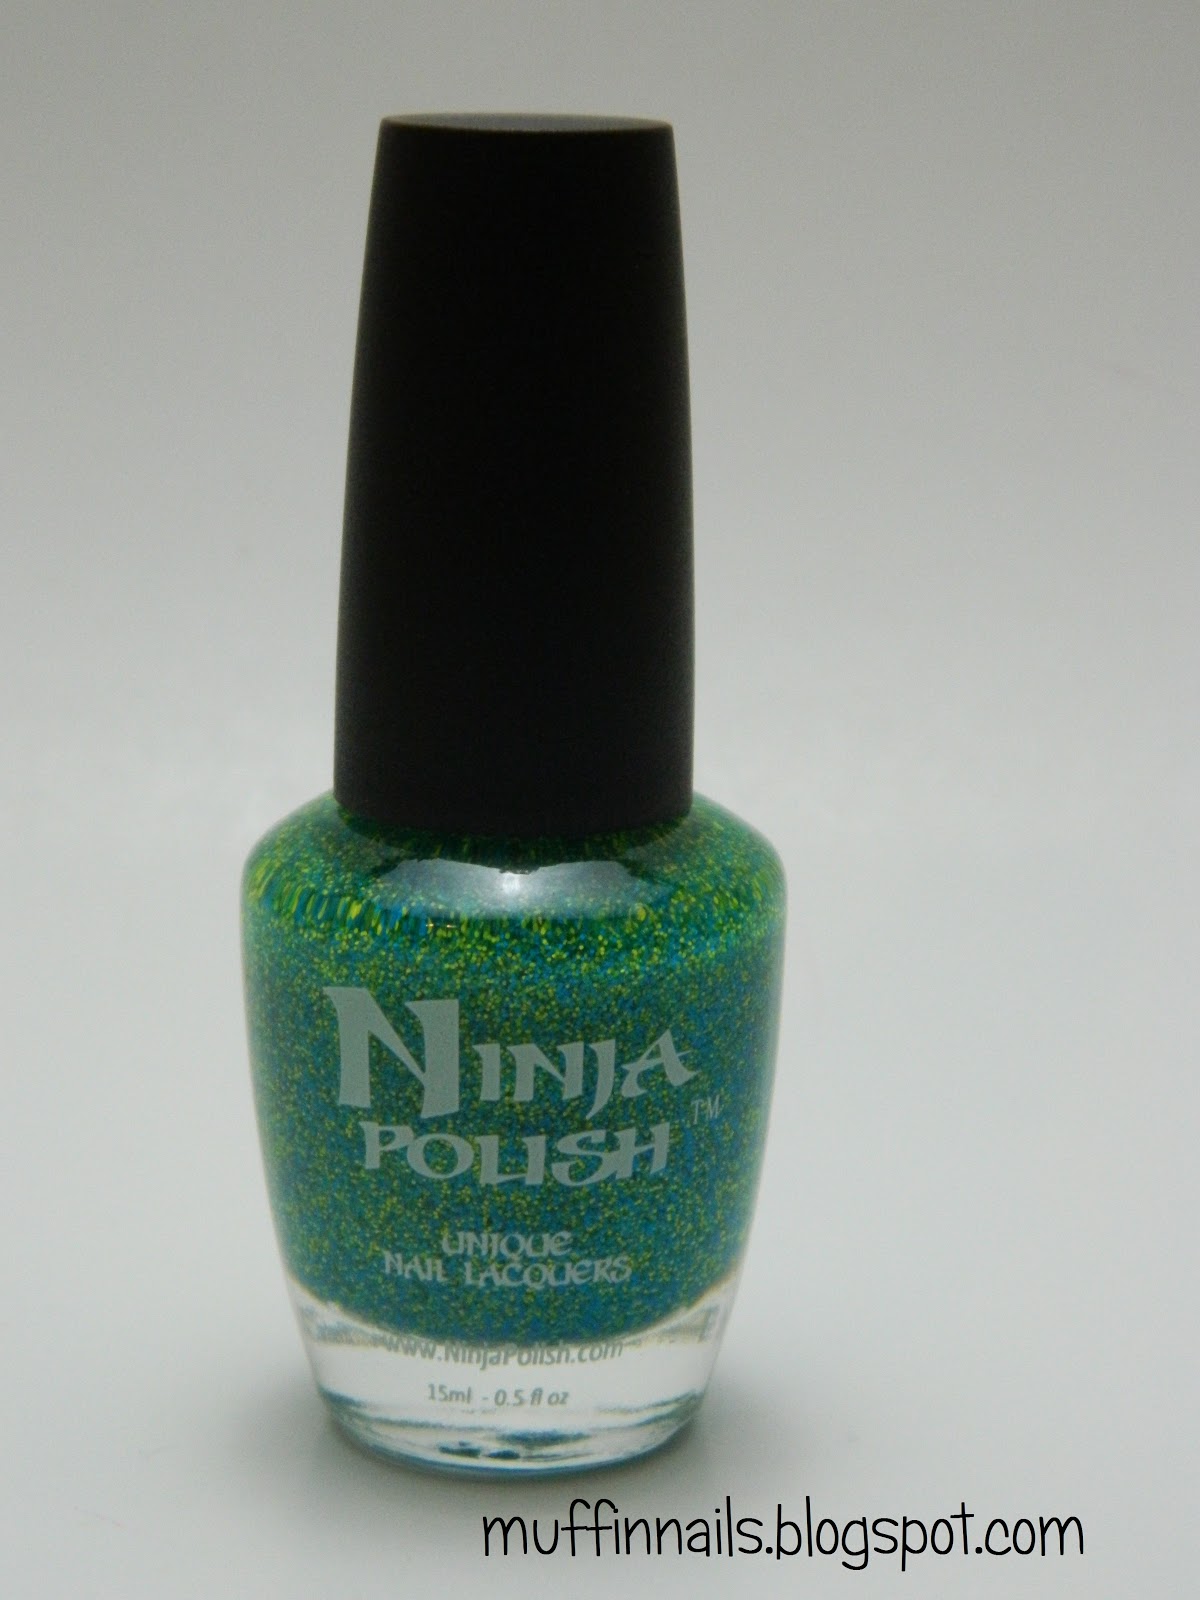
Then add the blue polish to the thumb and ring finger.
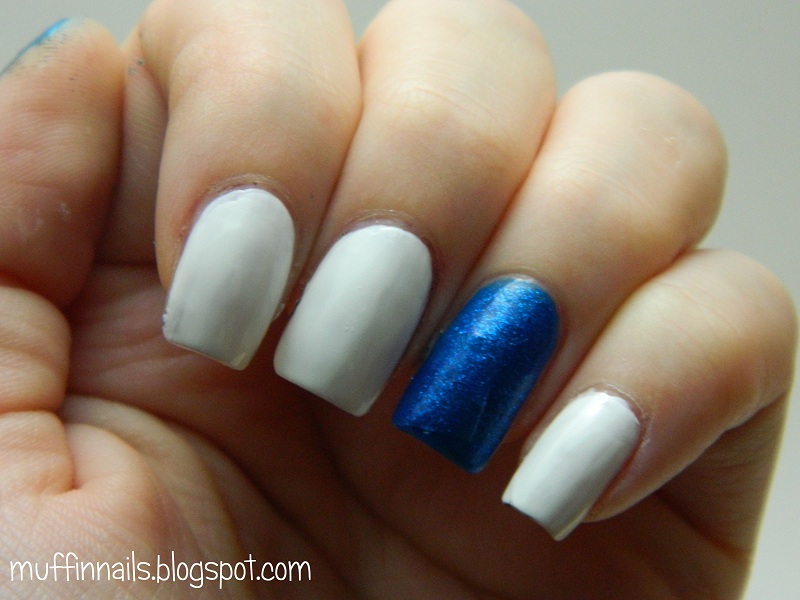 |
| China Glaze - Blue Sparrow |

Now comes my part. Start off with a semi-circle at the base of the nail in white, and add a circle on top of it for the head. You can use either a striper, dotting tool, or toothpick for this- whatever works best for you. I used a striper on my left hand but since my left hand isn't as steady of a painter, I used a dotting tool to paint the right hand.
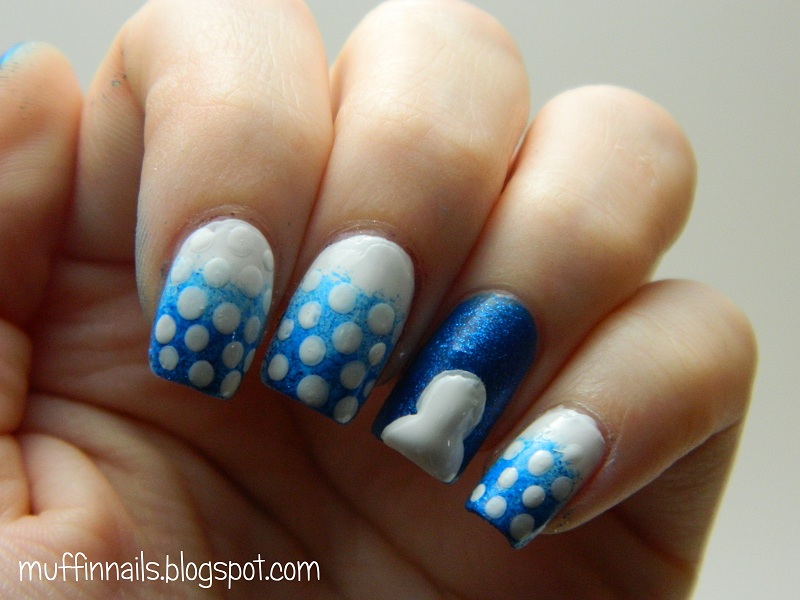 |
| Art Deco - White |
Using the black striper, paint on two black eyes.
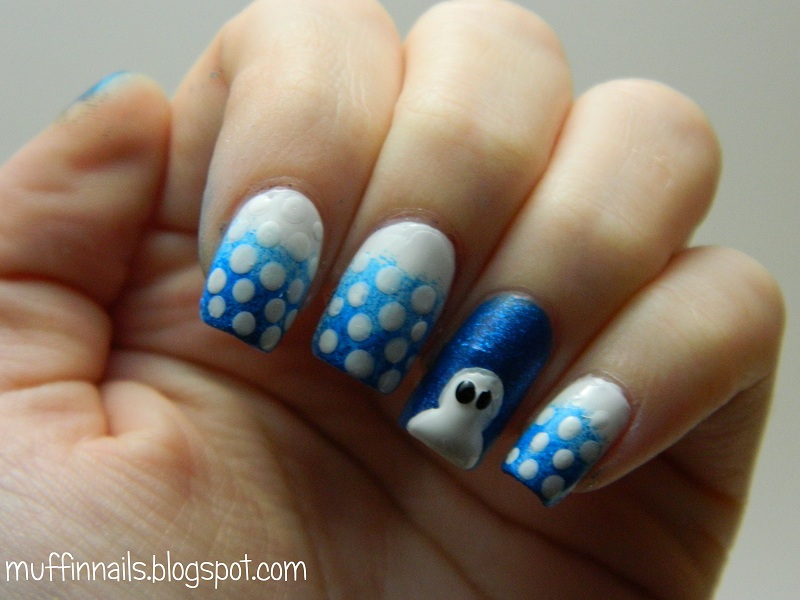 |
| Art Deco - Black |
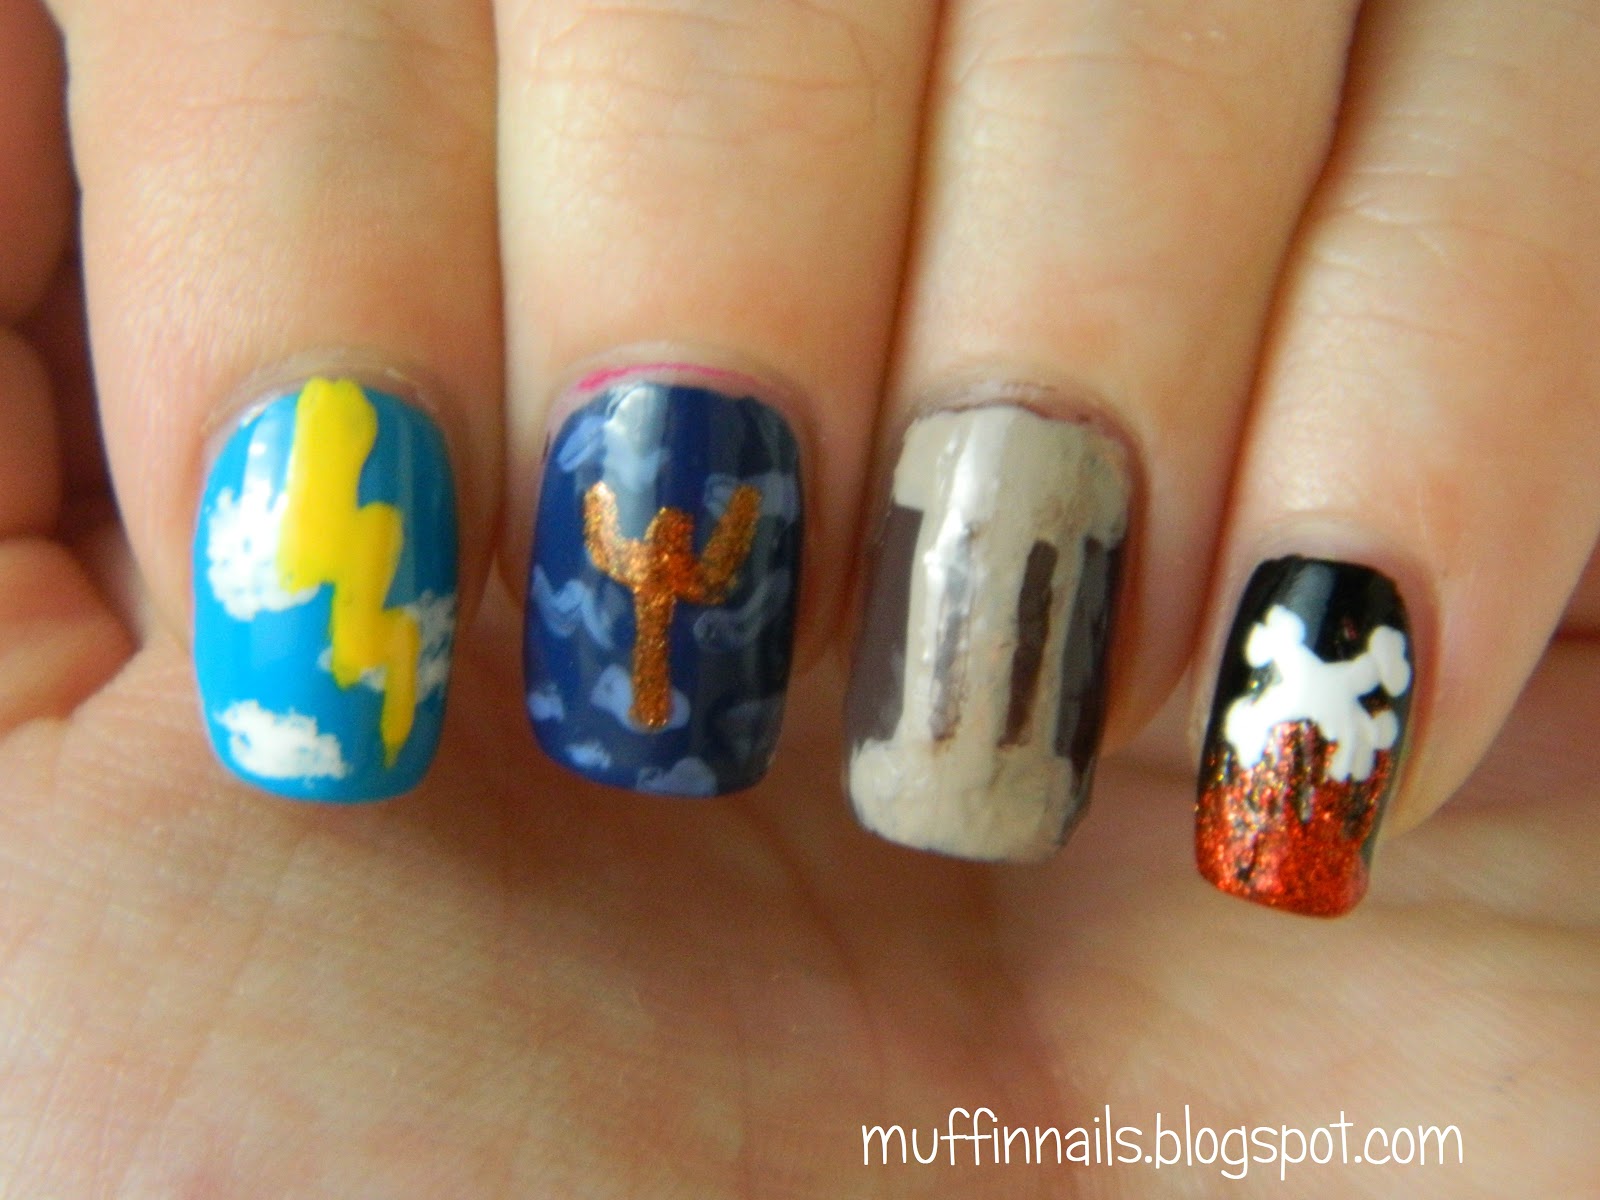
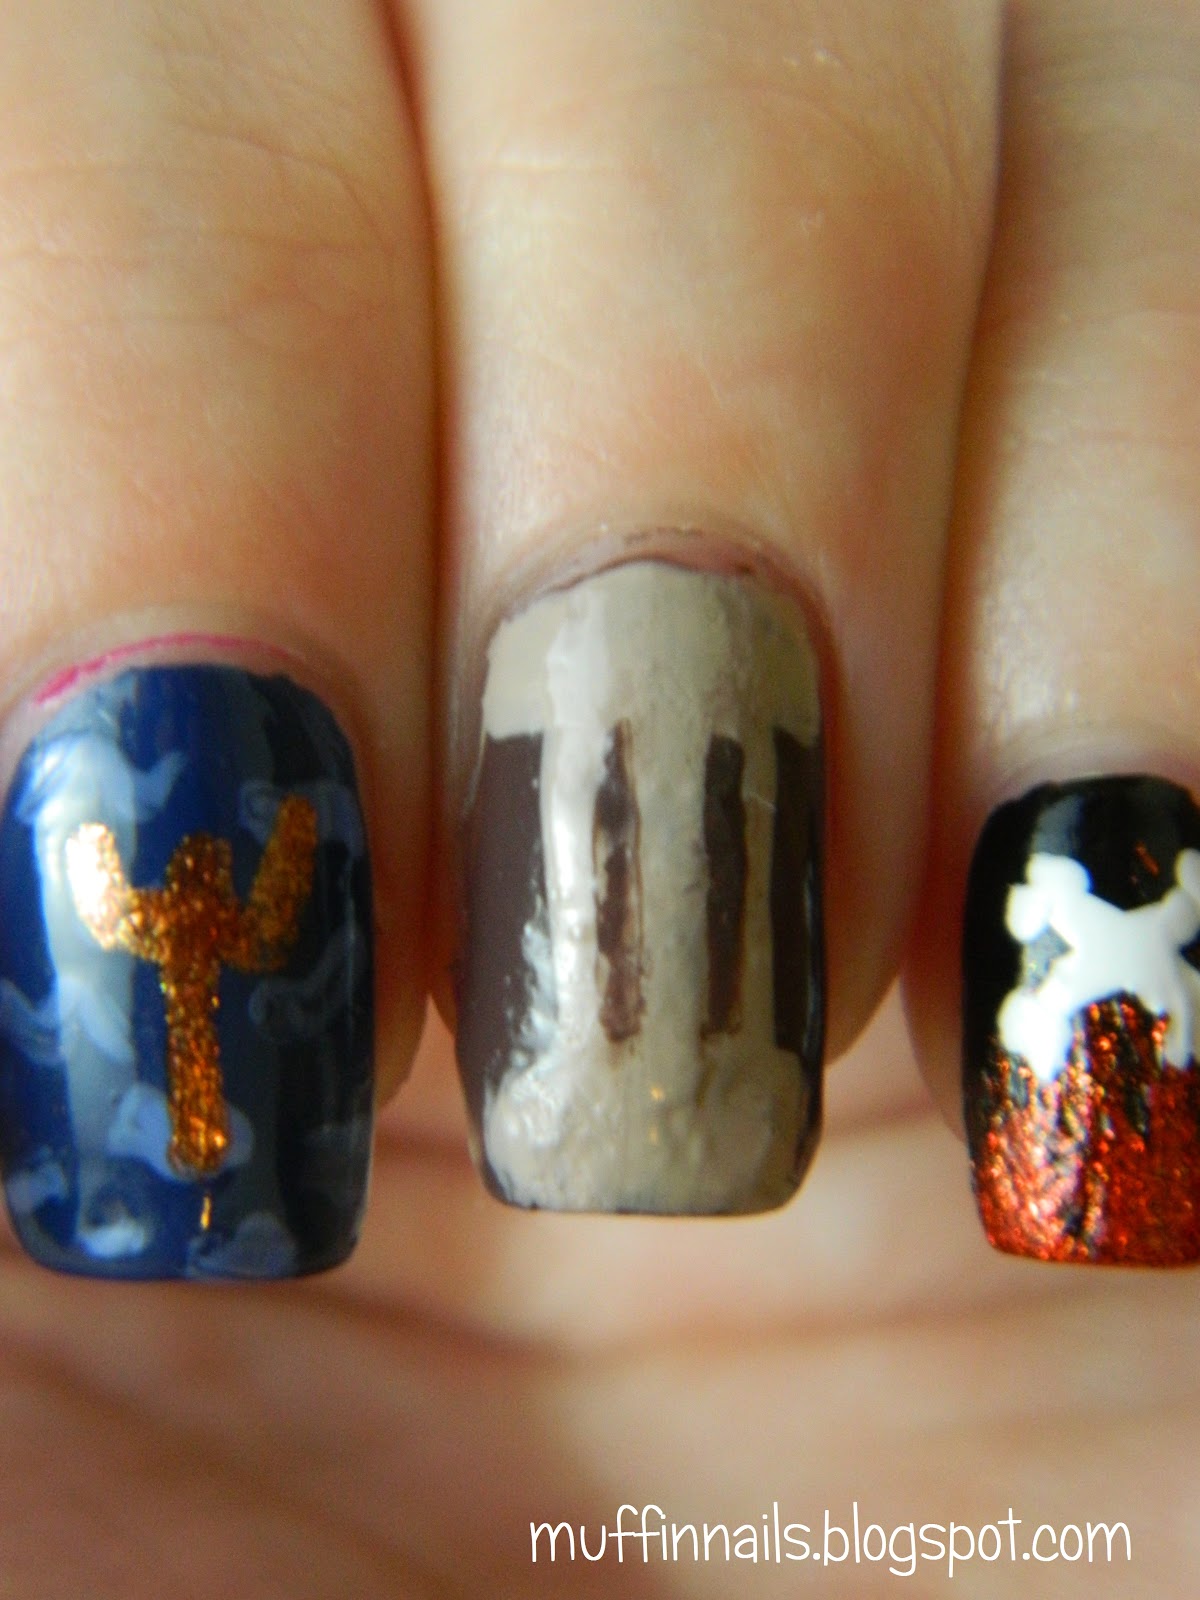
Now add the nose in orange. I suggest placing a dot with the striper/toothpick/etc. and then dragging the orange across the nail a bit instead of trying to paint a tiny triangle. And just to have some fun, I used a white striper to add some snowflakes above the snowman. All they are are eight white lines crossing each other to form a little star-like thing.
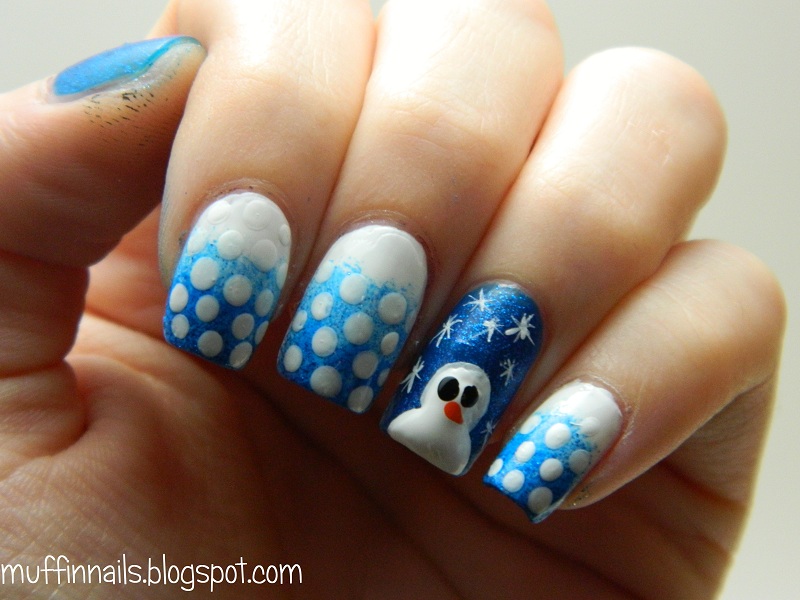 |
| Sally Hansen - Sun Kissed |
Don't forget to add a top coat at the end!
And that's it! This winter-themed manicure is easy, quick, and oh-so-cute. Show your love of the season with these cheerful snowmen on your nails!
If you'd like to see more of my winter nail art tutorials, make sure to follow here, 'like' on Facebook, and follow on Twitter.
Thanks for reading!
- Muffin


.jpg)